
Office 365 on iPhone
Instructions are provided below for setting up Office 365 with the iPhone native email app or by installing the Microsoft Outlook app on you iPhone. Follow the instructions under your preferred app.
Note: The Outlook App has many more features that user's will find very useful and convenient over the native email app!
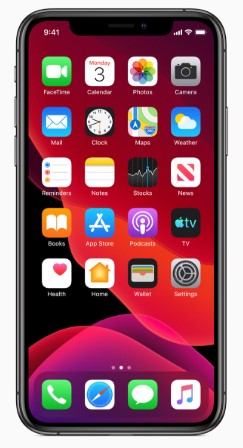
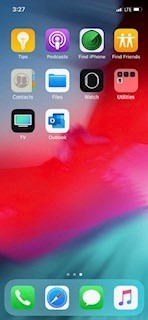
- Go to the Apple iPhone home screen as shown below:
- Open the App Store by tapping on the icon on the desktop as outlined below:

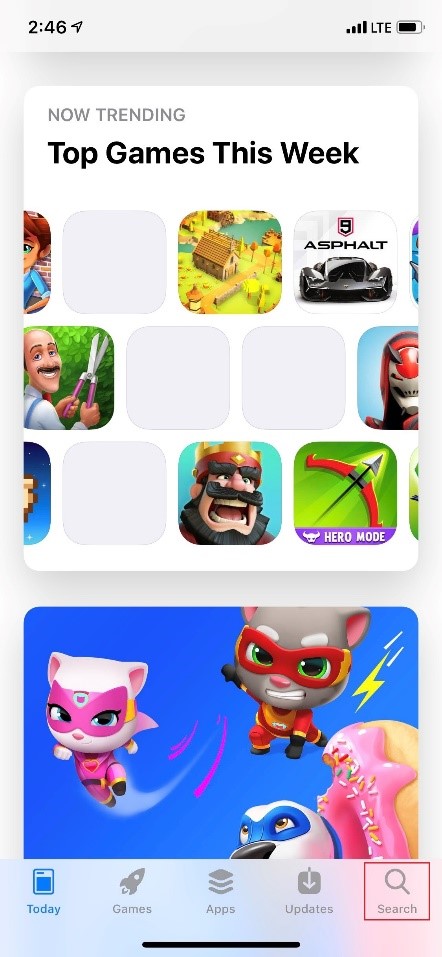
- The App Store page will now open as shown:

- Tap on the Search icon located at the bottom right side of the screen as outlined in red:
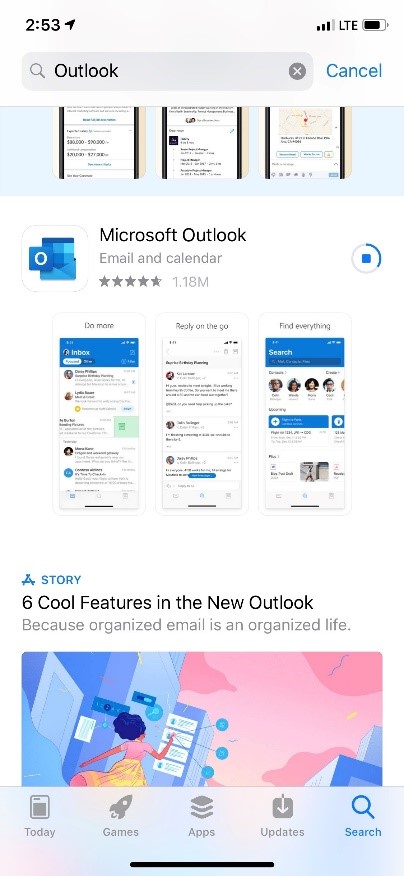
- Search for "Outlook" and you should see the download page as shown:
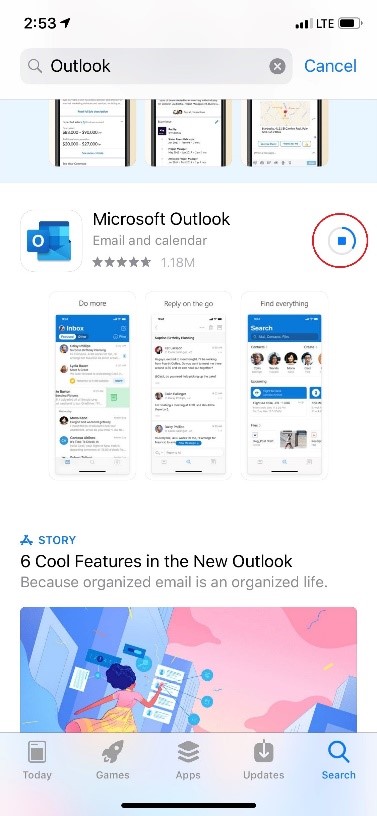
- Tap on the download button that is circled in red below:
- When the App is finished downloading it will appear on the desktop of your iPhone:
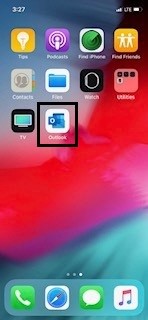
- Tap on the Outlook App icon as outlined below:
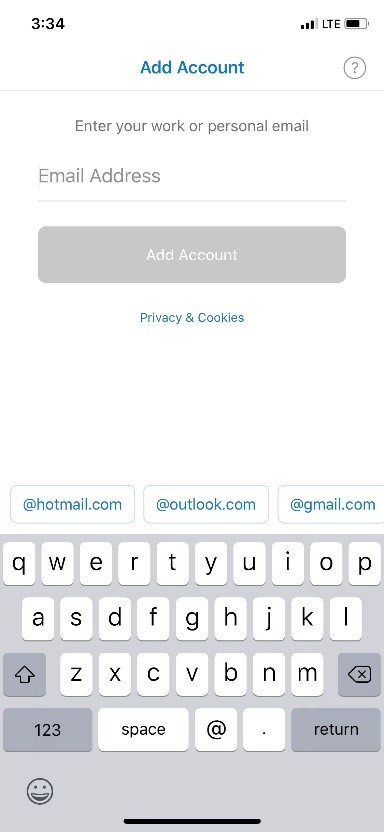
- The Outlook App will open and the configuration will begin. Type in your Email Address and then tap on the "Add Account" button:
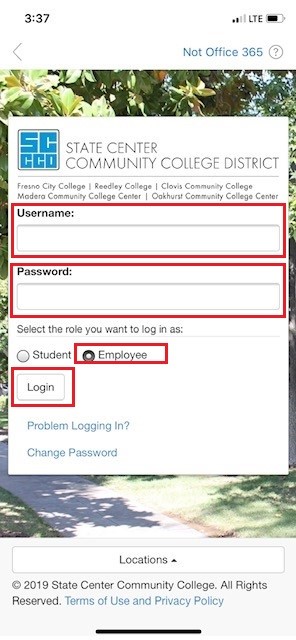
- You are directed to the District’s Portal Login page as shown:
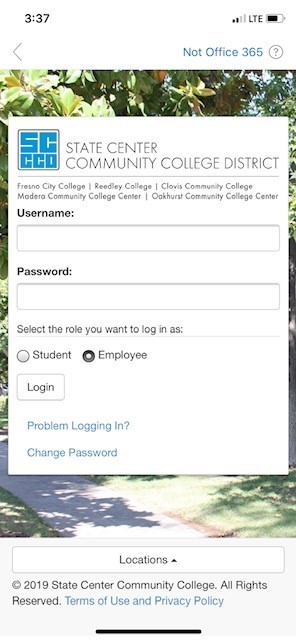
- Input your District Active Directory Username and your District Active Directory Password. Make sure you select the “Employee” radio button and then tap on the “Login” button as outlined in red:
- The Outlook Inbox screen will appear and will look something like the image below:
- The Outlook App for the iPhone is now installed!
- Go to the Apple iPhone home screen as shown:
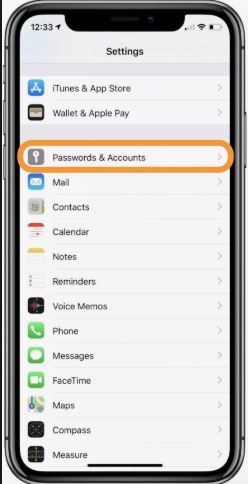
- Tap on the “Settings” icon as shown:

- Once inside settings, find the Passwords & Accounts icon circled below:
- The Accounts screen will now appear as shown in the graphic below:
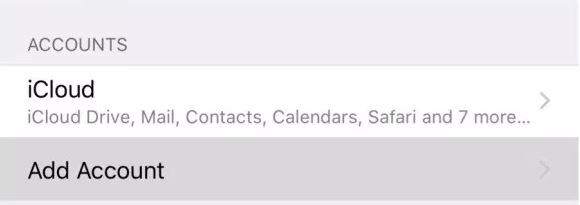
- Tap on the “Add Account” menu item.
- The different email service choices will appear as shown:
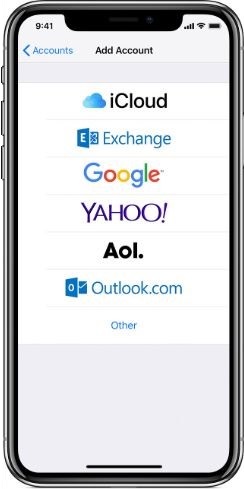
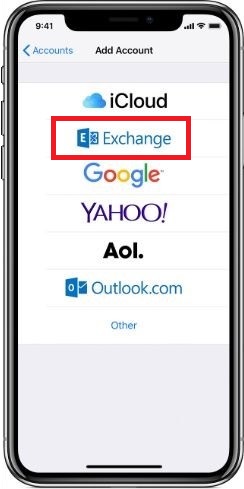
- Tap on the “Exchange” menu choice outlined in red:
- Now you will set up the iPhone to talk to Exchange and will need the following:
- Domain Username
- Domain Password
- Domain Email Address
- In some cases you may have to enter the Office 365 domain: outlook.office365.com
- The Exchange dialog box appears on the screen as shown:
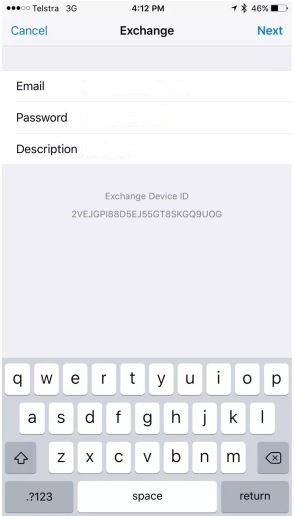
- Input your District Email Address, District Active Directory Password, and a Description for this account
- You will now be greeted by a screen asking if you want to “Configure Manually” or “Sign In” using Microsoft as shown:
- Choose to Sign in using Microsoft:
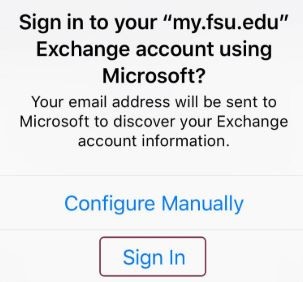
- Choose to Sign in using Microsoft:
- The Microsoft dialog box appears allowing you to choose to sign in using:
- Work or School Account
- Personal Account
- Choose the Work or School Account as shown:

- You will briefly see a dialog box appear stating that the application is taking you to your sign in page.
- The District’s Sign in Page will appear as shown:
- There are several important settings you need to pay attention to here:
- The username is the user’s Active Directory username they use every day
- The password is the user’s Active Directory password they use every day
- You must select the “Employee” radio button
- The screen below has these fields outlined in red:
- Tap on the Login button to continue
- The Microsoft “Permissions Requested” dialog box will now appear as shown below. Tap on the “Accept’ button to continue:

- You will briefly see the “Verifying” screen and then be greeted by the exchange options:

- Remember, Mail, Contacts, Calendars, Reminders, and Notes are all synced by default!
- Tap on the “Save” button on this screen to continue
- You have now added the account to the iPhone!
- It will take several minutes for the iPhone to synchronize the account – be patient!
- Return to Settings>Passwords & Accounts
- Tap on the left pointing arrow for the account you just created and you will see the dialog screen for the account.
- By default, the iPhone is set to only synchronize 1 Month’s email.
- You are done!


